Setup · 5 min
How to install Ghostty on macOS (and why it beats Terminal.app)
Terminal.app got you this far, and you could honestly stop there — except you're about to spend hundreds of hours in this window, and Terminal.app keeps its settings in checkboxes you can't copy, share, or ask a tool to read. To install Ghostty on macOS takes one Homebrew command and about three minutes. What you get is a faster, GPU-rendered terminal configured entirely by one plain-text file you can carry to any Mac you'll ever own.
What Ghostty buys you over Terminal.app
Two things, and only one of them is speed. Ghostty draws your text with the GPU — on a Mac, through Apple's Metal renderer — so scrolling a wall of build output stays smooth where older terminals stutter. Nice, but not the deciding reason. (If the shell prompt itself is still new territory, what a terminal actually is covers the layer underneath; everything here sits on top of it.)
The deciding reason is the config file. Every visual and behavioral choice in Ghostty lives in one text file at ~/.config/ghostty/config, in plain key = value lines. That makes your terminal portable text: copy one file to a new Mac and your whole setup arrives with it, diff it to see what changed, paste it anywhere you need to show it. Terminal.app's checkboxes can do none of that — the full version of this argument lives at config file beats checkboxes.
How to install Ghostty on macOS
Three commands and one keystroke, about three minutes end to end.
- 01Check for Homebrew. Type
brew --versionin Terminal.app. An answer likeHomebrew 6.0.0means you have it. Acommand not foundmeans install it first with the official one-liner in the block at the end of this article — Homebrew is the Mac's missing package manager. - 02Install Ghostty. Run
brew install --cask ghostty. Homebrew downloads the signed app (version 1.3.1 as of this writing) and moves it to /Applications. Wait for the beer mug. - 03Launch it. Cmd+Space, type
Ghostty, Enter. A terminal window opens — same shell, samezsh, answering exactly as before. It looks plain right now. That's the before photo. - 04Create the config file. Ghostty runs fine with no config at all, so the file doesn't exist yet. Make it:
mkdir -p ~/.config/ghostty && touch ~/.config/ghostty/config. Empty file, full of intent. - 05Test the reload keystroke. In Ghostty, press Cmd+Shift+, (comma). That's
reload_config— Ghostty re-reads the file on the spot, no restart. Nothing visibly changes yet because the file is empty.
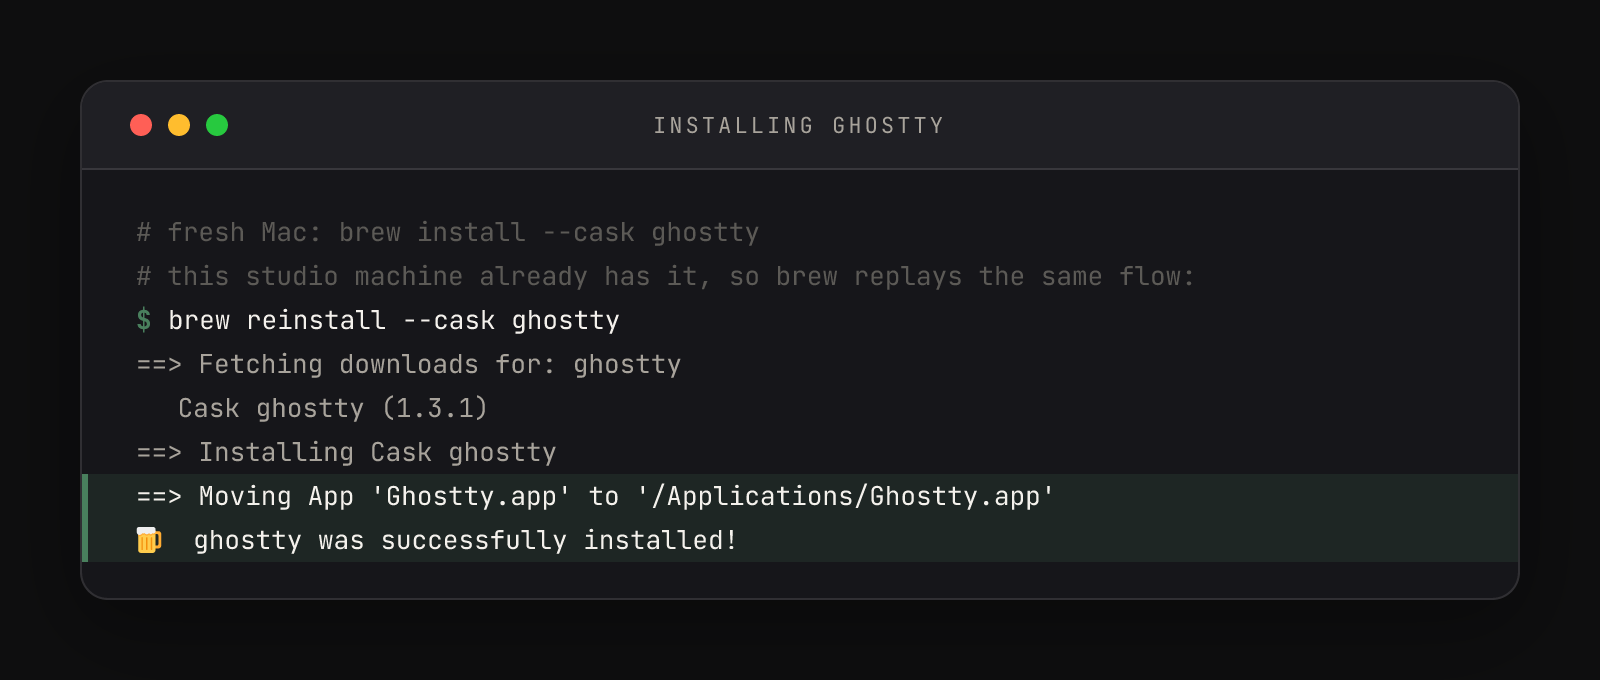
One honesty note on that frame: the machine it was captured on already had Ghostty, so it shows brew reinstall — which replays the identical download-and-install flow you'll see. On a fresh Mac the command is brew install --cask ghostty. Either way, the line to watch is Moving App 'Ghostty.app' to '/Applications' — Ghostty is a normal Mac app; Homebrew is putting it where every other app lives.
Verify the pieces landed. Ghostty ships a command-line tool alongside the app, so you can ask it directly:
$ ghostty +version
Ghostty 1.3.1

Version
  - version: 1.3.1
  - channel: stable
Build Config
- renderer : renderer.generic.Renderer(renderer.Metal)That renderer.Metal line is the GPU acceleration claim verified by the binary rather than a marketing page. And ls ~/.config/ghostty should answer with one word — config — proving the empty file is in place.
Homebrew cask or the .dmg?
Ghostty's own docs offer two macOS routes: the .dmg from ghostty.org/download — signed and notarized, drag to Applications, perfectly fine — and the Homebrew cask. This guide standardizes on Homebrew because it turns "install a tool" into a one-line command you can read, script, and replay, and because the tools most people install next — a multiplexer, a file manager, most of a modern terminal stack — install the same way. One package manager, one mental model. Both routes are documented at ghostty.org/docs/install/binary.
Updates take care of themselves either way: Ghostty updates itself in place (Homebrew marks the cask auto_updates for exactly this reason), so you're never stuck on an old build because you forgot to run an upgrade command.
The config location is worth one footnote. Ghostty also accepts a config at ~/Library/Application Support/com.mitchellh.ghostty/, the traditional macOS spot. Use ~/.config/ghostty/config instead — the cross-platform XDG path — because most modern command-line tools keep their config under your home folder's dotfiles, and one convention beats two.
The complete install, copy-paste ready
# 1. Homebrew itself (skip if brew --version already answers)
/bin/bash -c "$(curl -fsSL https://raw.githubusercontent.com/Homebrew/install/HEAD/install.sh)"

# 2. Ghostty
brew install --cask ghostty

# 3. The empty config file, ready to fill
mkdir -p ~/.config/ghostty && touch ~/.config/ghostty/configBefore calling it done, four quick checks:
brew --versionanswers with a version numberghostty +versionreports 1.3.1 (or newer)ls ~/.config/ghosttyshows the config file- Cmd+Shift+, in Ghostty does nothing visible — and nothing breaks
The empty file and the reload keystroke are the setup for the real payoff: twelve lines of configuration that turn a default Ghostty into a finished daily driver. That file, line by line — including the lines you should never delete — is covered in the 12-line Ghostty config guide. Once it's filled, Cmd+Shift+, stops being a no-op and becomes a light switch.